3-Ingredient Graham Cracker Crust
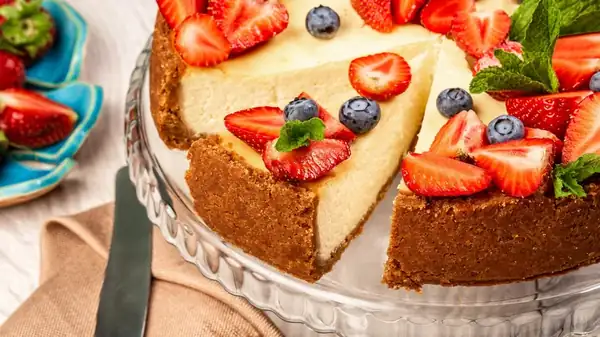
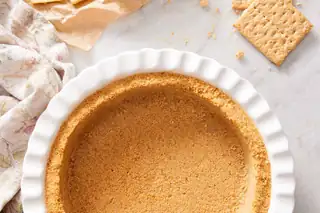
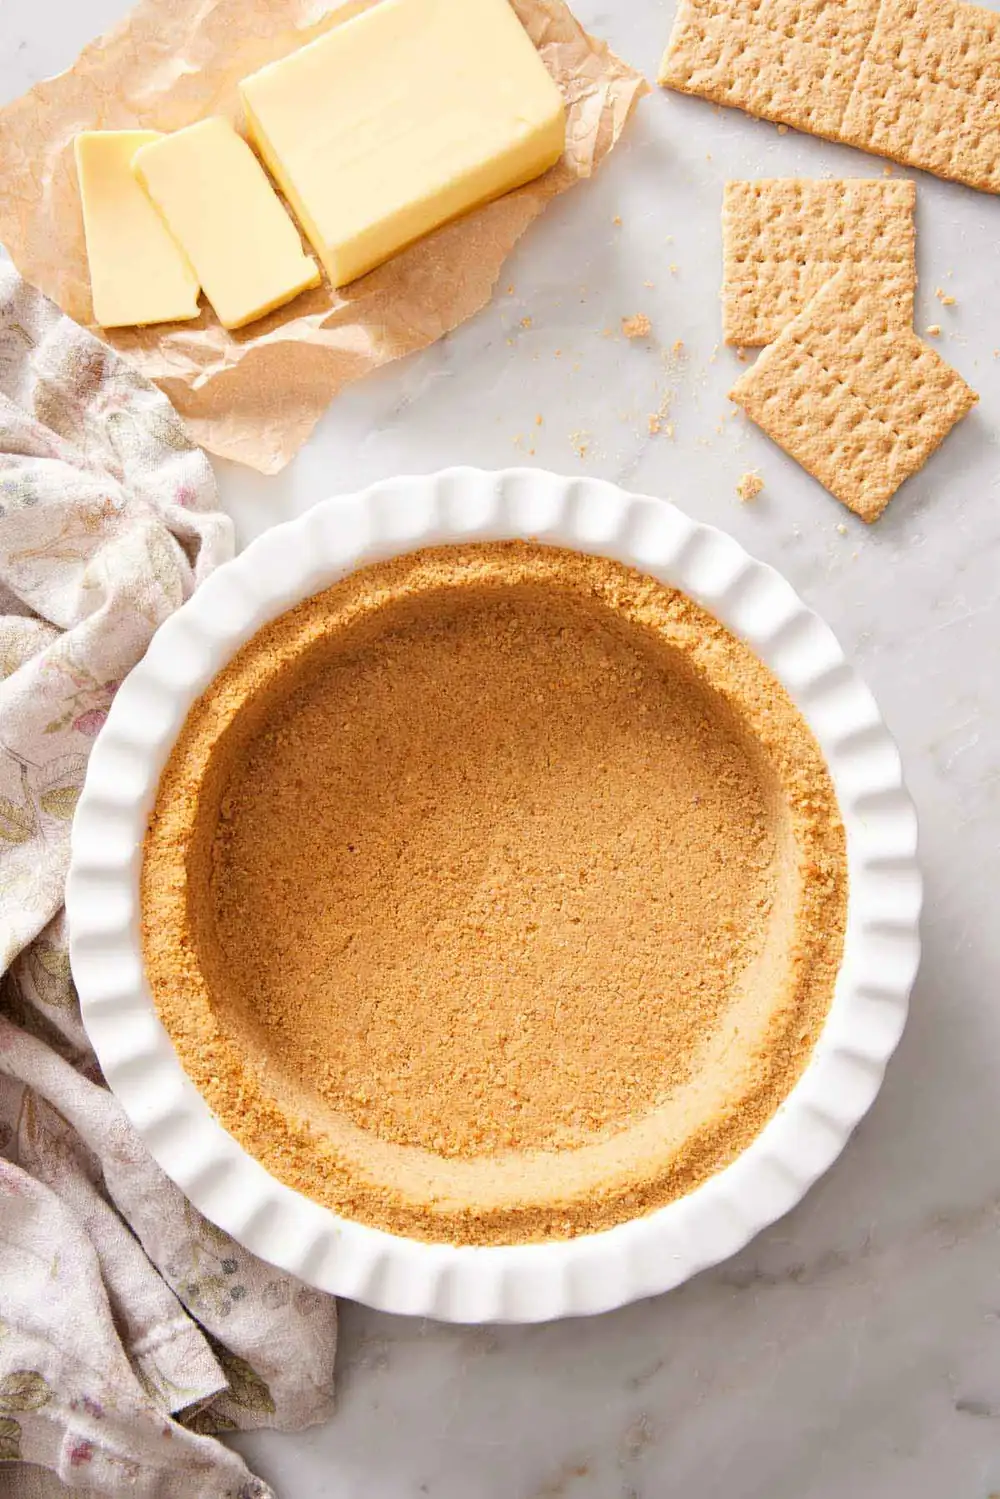
This homemade Graham Cracker Crust is made with three simple ingredients and just 10 minutes of hands-on prep! My butter trick and pinch test ensure you make a crumb crust that won’t fall apart when you slice it.
- 1½ cups graham cracker crumbs ((180g))
- 6 to 8 tablespoons unsalted butter ((87g to 113g), melted)
- ¼ cup granulated sugar ((50g))
- Preheat the oven to 350°F.
- In a medium bowl, stir together graham cracker crumbs, 6 tablespoons of melted butter, and sugar until well moistened. Pinch the crumbs between your thumb, and pointer and middle fingers. If they feel moist and stick together when released from the pinch, they are ready to be pressed in the pan. If they feel dry, sandy, and lose their shape when released from the pinch, stir in more butter, 1 tablespoon at a time.
- Firmly press the mixture into the bottom and up the sides of a 9-inch pie pan. Use the flat-bottom of a measuring cup or glass to firmly press the bottom of the crust, and your fingers or a small spatula to press the sides into the pan.
- Bake until aromatic and golden, about 8-10 minutes. Set aside to cool completely.
Nearly every graham cracker crust recipe calls for a fixed amount of butter. But after years of making crumb crusts, my experience has taught me that this is the main reason why so many crusts fall apart!
Here’s the problem: Boxed graham cracker crumbs and homemade crumbs aren’t the same texture or density, which means they measure differently. If the butter is a set measurement, you may end up with too little for a dry crust that crumbles apart, or too much for a wet, dense crust that breaks instead of slicing. I tested these two graham cracker crumbs with different butter amounts to show exactly how to tell when your texture is right. This way, you can make a graham cracker crust that is far superior to store-bought, and it doesn’t fall apart!
“This is my go-to recipe when I need a crumb crust. Your pinch test tip was a game changer. My crust never falls apart now! I have made it with plain graham crackers and cinnamon and chocolate ones too. All of them are great!” Trish
Key Ingredients
These are the main ingredients you need to make this easy graham cracker crust. You can find the full list of ingredients and measurements in the recipe card below.
Graham cracker crumbs — boxed or homemade crumbs both work, they just behave differently (more on this below). For homemade, process 12 full sheets in a food processor until they are finely ground. This gives you just about 1½ cups. (You can even use homemade graham crackers!)
Butter — make sure the melted butter isn’t too hot. This seems insignificant, but butter straight off the heat is hot enough to dissolve the sugar that is mixed into the crust. Dissolved sugar turns the mixture gummy and sticky rather than sandy and pressable. If it’s very warm, let it sit for 5-10 minutes before you mix everything together.
Granulated sugar — this does two jobs: it sweetens, and it melts in the oven to help set the crust. You can substitute light brown sugar for a deeper, slightly molasses flavor.
Optional: A pinch of salt — this isn’t in the ingredient list, but I like to add it if my crust has a particularly sweet filling. A bit of salt helps balance out the flavors in contrast to the filling. Add up to ¼ teaspoon.
Why This Crust Doesn’t Fall Apart (Homemade vs. Boxed Crumbs)
Butter is the main thing holding a crumb crust together. There’s no gluten, no egg, no structure of any kind—just fat gripping cracker crumbs and binding them with the sugar. Getting the right amount is key. If there’s too little, it’s sandy and falls apart. If there’s too much, it’s wet, too compacted, and can slide down the pan if you bake it. Exactly how much you need will depend on your graham cracker crumbs!
Boxed crumbs are finer, denser, and drier. They’re milled to a uniform texture, so they pack tightly into a measuring cup. When measured by volume, 1½ cups comes out to around 180g and needs closer to 8 tablespoons of butter to coat them properly.
Homemade crumbs are coarser and not as dry. Even processed until fine, they naturally carry more variation in size between the crumbs, so they don’t pack into a volume measuring cup as densely as boxed crumbs do. And since they are freshly ground, there is slightly more moisture trapped inside, so they may not absorb as much butter. When measured by volume, 1½ cups weighs roughly 130g. Less cracker crumbs means you need less butter, so start with 6 tablespoons. If you measure by weight instead to get 180g, you will likely need 7-8 tablespoons.
I tested boxed crumbs versus homemade crumbs using 6 tablespoons of butter in each. I measured each type of crumbs by volume to equal 1½ cups. The boxed crumb mixture (using 180g) was still dry and crumbly and didn’t hold together when a clump was squeezed. The homemade crumbs (130g) held together perfectly—the mixture wasn’t too wet either.
This is why I use a butter range in the recipe! Start with 6 tablespoons, check it with the pinch test (shown below), and stir in more if needed. And it’s what makes sure your crust works great and doesn’t fall apart, either from too much or too little butter.
The Pinch Test
This is key to knowing if you have the right butter amount! Perform this test before you press the mixture into your pan. If the mixture is in the pan and you discover it won’t hold its shape, you have to scrape it all back into the bowl, which is frustrating and takes more time.
To do the pinch test, grab 1-2 tablespoons of the mixture in your palm and squeeze your hand into a fist. This will pack the mixture together. Open your hand and look at the clump to determine if it’s ready or not. I tested 3 stages—ready, not ready, and too much butter—to show you exactly how the crust should look when it passes the pinch test.
What “ready” feels like: the crumbs compress into a small clump and stay that way when you open your fingers. It should feel slightly damp but not very oily or wet. If you achieve this, the pinch test passes!
What “not ready” feels like: the crumbs briefly take a shape and then collapse back to sand as soon as you move your hand. The mixture feels dry. To fix it, mix in more butter one tablespoon at a time, and do the pinch test with each addition.
What “too much butter” feels like: the crumbs are tightly compressed and butter releases when squeezed. They will feel very wet or sticky, and your hand will be well coated in fat. The clump also looks a bit darker from the added moisture. To fix it, mix in 2 tablespoons of dry graham cracker crumbs and pinch again. Repeat as needed.
Pro Tips For The Best Graham Cracker Crust
Use a small silicone spatula or the back of a spoon to press the sides and smooth the crease where the bottom meets the sides if your glass doesn’t have straight sides.
Don’t over-pack the crust. Use slightly firm, even pressure, but don’t smash them with intense force. Over-compacted crumbs bake into a very dense crust, and it shatters rather than slices through when you cut it. The goal is a smooth surface with no loose crumbs or gaps that holds its shape, not maximum density.
How To Make A Graham Cracker Crust
Step-by-step process highlights for making a homemade crumb crust are below. You can find the full set of instructions in the recipe card below.
1. Stir the crumbs, sugar, and salt together. This forms the dry base of the crust.
2. Add the melted butter and mix until the crumbs look evenly moistened. If you have any clumps of butter or dry crumbs, use your fingers to help break them up.
3. Do the pinch test. Squeeze a bit in your palm or between your thumb and first two fingers. If it holds its shape when you let go, it’s ready. If it falls apart, add another tablespoon of butter, stir, and test again.
4. Press into a 9-inch pie plate along the bottom and up the sides. Use the flat base of a measuring cup or a glass for the bottom, and your fingers or a small offset spatula for the sides and the crease where they meet. Bake for 8 to 10 minutes, until it smells toasty and the edges have taken color. Cool completely before filling.
How Much Crust Each Pan Needs
One batch of this recipe can be used in a surprising range of vessels, but not all of them cover the pan the same way.
For a thicker crust, a larger pan, or a taller cheesecake side, scale to 2 cups (240g) of crumbs and 10 tablespoons of butter.
For muffin tins (to make mini cheesecakes), use about 2 tablespoons of the crust mixture per well, and shorten the bake to 5 or 6 minutes. The small crusts color faster.
Unlike a pie crust or tart crust, a graham cracker crumb crust doesn’t have to be baked before it is used. Depending on the recipe, there are advantages to both baking it first or skipping the bake and just chilling it.
Bake it when the filling is baked, or when you want the crust crisp and toasted. Baking melts the sugar, forming an extra binder for a crisper, sturdier crust. It also toasts the graham crackers, enhancing their flavor. Because the crumbs are bound together with butter and sugar, they won’t slump down in the pan, so you don’t need to line it with parchment and pie weights like you do when blind baking a pie crust.
Chill it when the filling is no-bake, and you want the crust to stay softer, or you don’t want to turn your oven on! 20 minutes in the freezer and the butter firms up enough to hold everything together without any heat involved. Most no-bake cheesecake uses this. It will be slightly more crumbly when you slice it.
My preference is to bake even for no-bake fillings when the recipe allows the time. The flavor and texture difference is worth it.
Either way, cool completely before filling. A warm crust plus a cold filling equals a soggy layer between the two thanks to steam.
- 9-inch pie plate