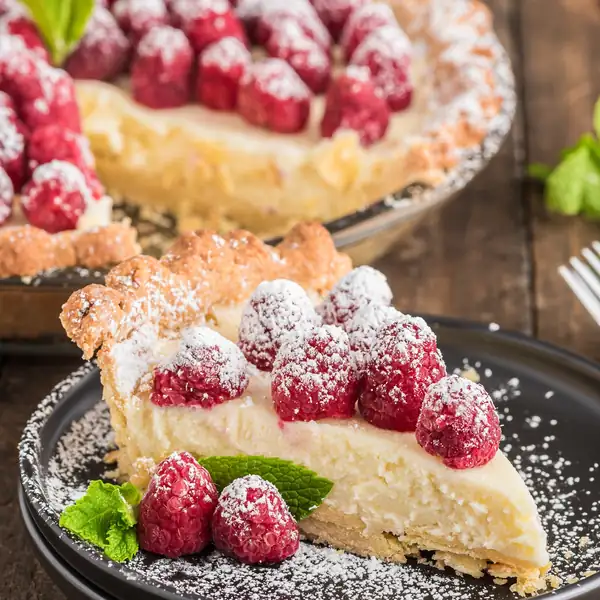
This pie crust comes together in minutes and has just 3 ingredients!
This scrumptious and super easy pie crust recipe comes together in minutes and has just three ingredients: flour, butter, and water.
- 2¾ cups all-purpose flour (350g, plus some for dusting $0.37 *)
- 2 sticks salted butter (frozen, (1 cup, ½ lb.) $1.98 **)
- ½ cup chilled water ($0.00 ***)
- Sift the flour through a fine mesh sieve and then spoon 2 3/4 cups of flour into dry measuring cups. measure the flour using the spoon-and-level method (after sifting it!) to ensure you don't add too much flour, which could cause the crust to become dry. Use the back of a butter knife to level the flour before adding it to a large bowl. Place in the freezer to chill while you grate the butter.
- Grate the butter sticks on the box grater's large holes. When the butter becomes challenging to handle, chop what's left of it into dice-sized pieces.
- Add the butter to the flour. Use a spoon to toss the butter and flour like you would a salad. Work quickly until the butter is completely covered in flour and the mixture resembles a shaggy, coarse corn meal.
- Spoon four tablespoons of chilled, icy water onto the flour/butter mixture. Mix quickly with a fork, incorporating the flour gathered at the bowl's bottom.
- Continue to add water tablespoon by tablespoon, mixing between each addition, until you can lightly pinch the flour/butter mixture and it holds together in a dough.
- Use your hands to press the shaggy bits of dough into a ball quickly. Then, lightly flour your work surface and shape the ball into a flat disc, about six inches in diameter and three to four inches thick. Don't overmix the dough; it shouldn't be particularly smooth but instead a bit craggy. Smooth dough is usually overworked.
- Wrap the disc of dough tightly in plastic or beeswax. Let it rest in the fridge for at least two hours, preferably overnight.
- Use the pie dough in your favorite recipe or keep the pie dough in the refrigerator for up to three days or frozen for up to three months. This recipe is for a double crust.****
- Slice the rested dough an inch above the center line and shape both halves into a disc. Place the larger half on a lightly floured work surface. Roll from the center up, down, left, and right. Lift the dough, rotate 15 degrees, and repeat the sequence until it’s 14 inches in diameter and the thickness of an ear lobe
- Place your rolling pin on the bottom edge of your crust and roll it onto your rolling pin. Place the pin on the top edge of a greased pie plate, centering the crust. Unfurl the dough towards you, then press it into the plate.
- To prevent steam from forcing the bottom crust to bubble up, use a fork to dock the dough, pressing the tines all the way through. Optional if using a liquidy filling: separate an egg and beat the white until frothy. Brush a thin layer over the bottom crust to seal the crust. Rest the pie plate in the freezer.
- Roll out the top crust to 11 inches in diameter. Take the pie plate out, add your filling, and brush water on the outer edges of the bottom crust. Place the top crust over the filling, fold the bottom crust over it, and pinch the two together to seal.
- Optional: Beat the remaining egg yolk with a tablespoon of cream or milk and brush it onto the top crust. This will help with browning. You can also use plain milk or cream.
- To prevent the pie crust from bubbling up as it bakes, cut steam vents into the top crust. Rest the pie in the freezer for fifteen minutes.
- Place your chilled pie on the middle rack of a preheated oven and bake according to recipe directions.
“This is by far the easiest crust recipe I have tried and delicious! I’ve never had a crust turn out so well and be so flaky!”
You don’t need any special tools to make it, just a little know-how. That’s right.
Contrary to popular belief, making pie dough from scratch isn’t complicated or expensive. It costs under $3.00 to make two crusts, which is less than you can buy it for at the store.
All recipes are rigorously tested in our Nashville Test Kitchen to ensure they are easy, affordable, and delicious. “This is by far the easiest crust recipe I have tried and delicious!
I’ve never had a crust turn out so well and be so flaky!”
Maris
Pie crust is an essential tool for every baker, and this 3-ingredient recipe is the easiest and cheapest way to make it.
I used all pantry staples (no fancy flours or European butter here!) to keep things simple and inexpensive. This is a recipe I recommend making a lot of and freezing for later because it’s just so useful!
How to Make Homemade Pie Dough Step-by-Step Photos
For an accurate measurement of volume, sift your flour, and don’t scoop it into your measuring cups.
Spoon 2 3/4 cups of sifted flour into the cups, and then use the back of a butter knife to level it off. Place it in a large bowl and put that in the freezer while you grate the butter.
Grate two sticks of salted butter that have been frozen solid. When you get down to a three-inch knob of butter, and it’s getting tricky to keep your knuckles out of the party, chop the remaining butter into diced-sized pieces. Take the bowl of sifted flour out of your freezer and add the grated butter.
Use a spoon to mix the flour and butter as if you were tossing a salad. Mix until all of the butter is coated with flour. Add 1/4 cup of chilled water to the flour and butter mixture.
Use your spoon to toss the mixture and incorporate the water. Continue adding water, tablespoon by tablespoon, tossing between each addition and incorporating flour that has shifted to the bottom of the bowl.
Once most of the flour has started to clump together with the butter, grab a bit and pinch it together. It should form a dough with a texture like play-dough, neither dry nor wet.
If your dough is crumbly when you pinch it together, continue to add chilled water. Press the bits of dough together into a ball and flatten it into a disc about 6 inches wide and three inches thick. Don’t overmix the dough; it shouldn’t be particularly smooth but instead a bit craggy.
Smooth dough is usually overworked.Wrap it tightly in plastic or beeswax cloth and set it inside an airtight container. Let it rest in the fridge for at least two hours, preferably overnight.
How to Roll Out Pie Dough
Slice the rested dough an inch above the center line and shape both halves into a disc.
Place the larger half on a lightly floured work surface. Roll from the center up, down, left, and right. Lift the dough, rotate 15 degrees, and repeat the sequence until it’s 14 inches in diameter and the thickness of an ear lobe.
Place your rolling pin on the bottom edge of your crust and roll it onto your rolling pin. Place the pin on the top edge of a greased pie plate, centering the crust.
Unfurl the dough towards you, then press it into the plate. To prevent steam from forcing the bottom crust to bubble up, use a fork to dock the dough, pressing the tines all the way through.
Optional if using a liquidy filling: separate an egg and beat the white until frothy. Brush a thin layer over the bottom crust to seal the crust.
Rest the pie plate in the freezer. Roll out the top crust to 11 inches in diameter. Take the pie plate out, add your filling, and brush water on the outer edges of the bottom crust.
Place the top crust over the filling, fold the bottom crust over it, and pinch the two together to seal. Optional: Beat the remaining egg yolk with a tablespoon of cream or milk and brush it onto the top crust.
This will help with browning. You can also use plain milk or cream. To prevent the pie crust from bubbling up as it bakes, cut steam vents into the top crust.
Rest the pie in the freezer for fifteen minutes. Place your chilled pie on the middle rack of a preheated oven and bake according to recipe directions.
You can blind-bake this dough at 350°F for about 40 minutes. Make sure to use pie weights to prevent bubbling and a foil ring to prevent burning. If you are making a filled pie, temperatures and bake time will vary, depending on the filling and the thickness of the required crust.
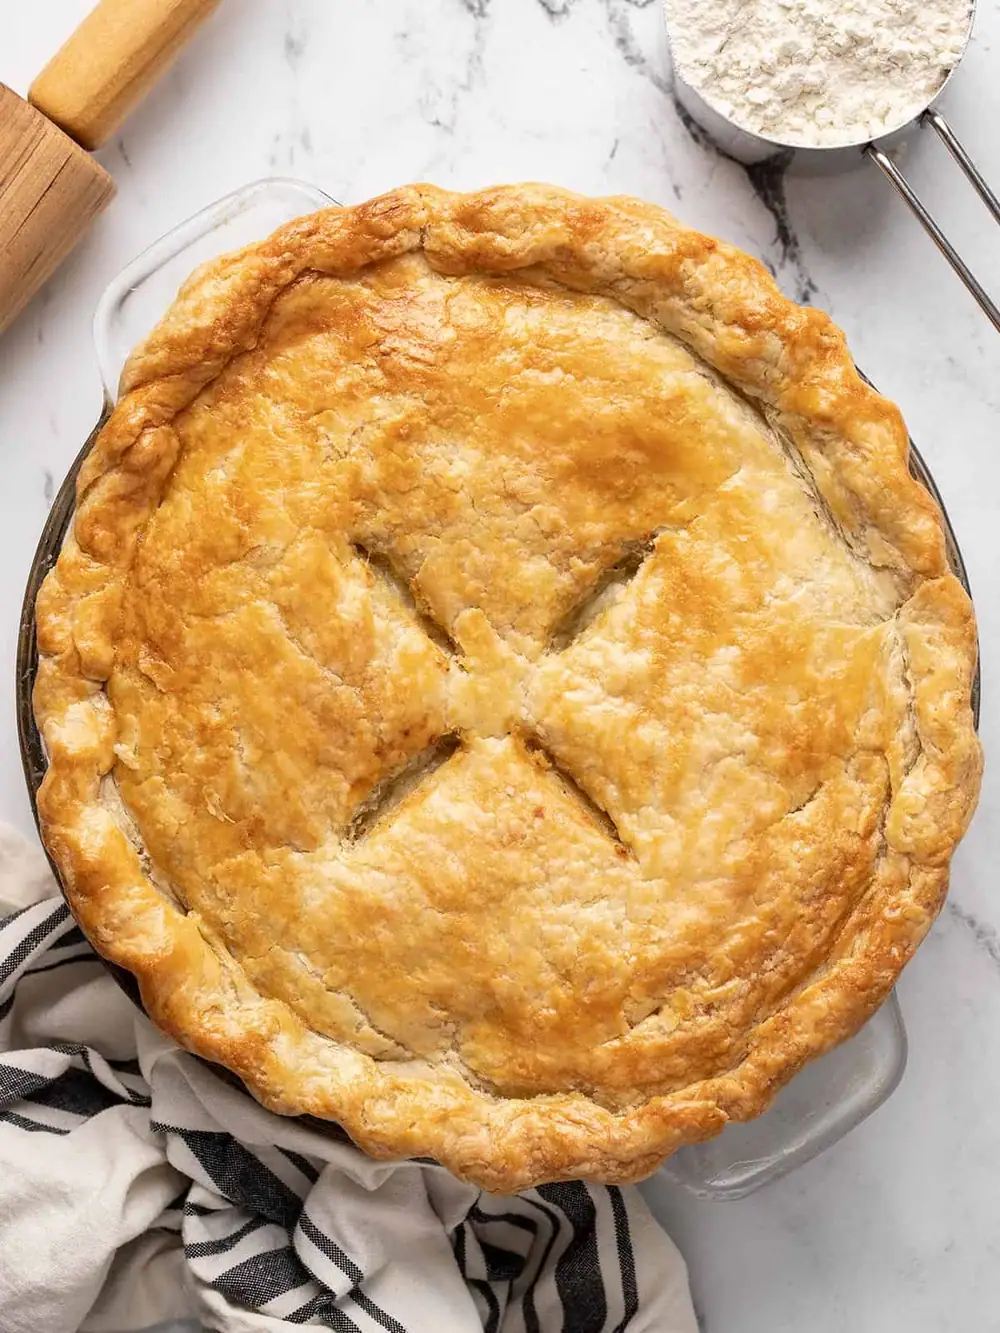
Look at all that flaky goodness for a little over a dollar! Yum!!
HOW TO STORE
Because it only stays fresh in the fridge for 3 days, I keep WAY too much of this dough tucked into my freezer, where it keeps for up to 3 months.
To prevent freezer burn, double-wrap it in either plastic or beeswax and then keep it in a freezer-safe container. Thaw it out in your fridge a day before you plan to use it.
You can even use the scraps to make the most amazing little cookies, which I should totally share with my kid, but instead, I stash them away because every mom needs her secrets. (If you know, YOU KNOW.)
Serving Suggestions
This 3-ingredient pie crust is so versatile.
You can use it to make a double-crust Apple Pie or a savory Turkey Pot Pie, or use half for a single-crust pie like our Pecan Pie. The dough is flexible enough for Sausage and Cheese Hand Pies and sturdy enough for a galette, like our awesome Blueberry Lemon Cream Cheese Galette.