How to make apple cider vinegar at home from scraps: a step-by-step recipe
Every time you peel apples for pies, cakes, or compote, up to 30% of their weight is wasted. However, this is the ideal raw material for natural apple cider vinegar.
Before you begin, gather all the necessary materials. The ingredients and equipment are very basic; you probably already have most of them in your kitchen.
Ingredients
Apple scraps: peels, cores, stems, and rotten parts (without the rotten portion). 1.5 kg of apples produce approximately 500-600 g of scraps, enough for 1 liter of vinegar.
Water: 1 liter of filtered or spring water. Chlorinated tap water is not suitable, as chlorine kills beneficial bacteria.
Sugar or honey: 1 tablespoon. This serves as food for the bacteria.
Raisins (optional): a handful. Wild yeast lives on the surface of the raisins, which speeds up the first stage of fermentation.
Step-by-step recipe for making apple cider vinegar from leftovers.
This is the basic and classic method. It is the most economical: it makes use of what would normally be thrown away.
1. Prepare the scraps (5 minutes)
When peeling apples for any dish, don't throw away the peels, cores, or trimmings. Place everything in a separate container. If there are any rotten parts, remove them; the rest can be used. You should have approximately 500 to 600 grams of trimmings.
2. Rinse the trimmings (3 minutes).
Rinse the hides under cold running water to remove any dust or dirt. The wild yeast present on the hides will help initiate fermentation. Simply remove any visible residue.
3. Fill the jar (2 minutes)
Place the scraps in a 3-liter glass jar. They should fill approximately one-third to one-half of the jar. Don't pack them too tightly; they need air to circulate.
4. Prepare the syrup (2 minutes)
In a separate container, dissolve 1 tablespoon of sugar in 1 liter of filtered water at room temperature. Stir until completely dissolved. If using raisins, add a handful directly to the jar.
5. Pour off the remains (1 minute)
Pour the prepared syrup over the cuttings in the jar. The liquid should completely cover them. If they float, weigh them down with a small weight. All the cuttings must be submerged; otherwise, they will mold.
6. Cover the jar (1 minute)
Cover the neck of the jar with 2 or 3 layers of gauze or a clean cotton towel. Secure it with a rubber band or string. Don't close the lid! The bacteria in the vinegar need oxygen to grow. The gauze will keep mosquitoes out and allow air to circulate.
7. Place it in a warm, dark place.
Ideal conditions: a temperature of 20 to 25 degrees Celsius, away from direct sunlight. At temperatures below 15 degrees Celsius, fermentation will slow down or stop. Above 30 degrees Celsius, unwanted microorganisms may develop.
8. The first two weeks: stir every day.
This step is crucial. Open the jar daily and gently stir the contents with a wooden spoon. This distributes the yeast throughout the jar, oxygenates the environment, and prevents any remaining yeast particles from floating and drying out. After 2 or 3 days, you'll see bubbles: fermentation has begun. After 5 to 7 days, the characteristic aroma will develop: the process is progressing well.
9. After 2 weeks, do a test.
Once active fermentation has stopped, strain the liquid through cheesecloth into a clean jar. Squeeze out the remaining pulp well, as it contains a lot of flavor. The pulp can be discarded or composted.
10. Secondary fermentation - 2-6 weeks
Pour the strained liquid into a clean jar, cover it with cheesecloth, and leave it in a warm, dark place. There's no need to stir it now; just gently shake the surface once or twice a week. At this stage, the bacteria in the vinegar convert the alcohol into acetic acid. After 1 to 3 weeks, a film will form on the surface: the mother of vinegar. This is a good sign.
11. Test and determine if it is ready.
Starting in week 4, taste the vinegar every few days. It should have just the right amount of acidity, but not be harsh, with a mild, fruity aroma. When you're happy with the flavor, move on to the next step.
12. Bottling
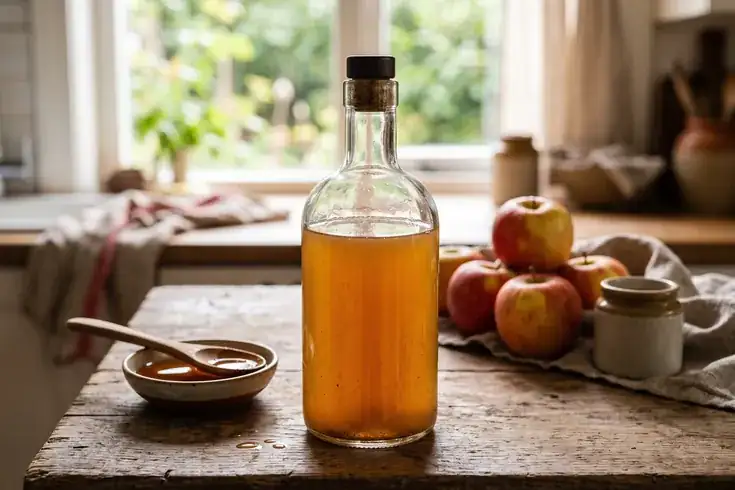
Strain the finished vinegar through cheesecloth into sterilized glass bottles. Seal tightly. The vinegar mother can be: a) left in the bottle; b) used to prepare the next batch; or c) consumed, as it is a valuable probiotic. Store in a cool, dark place.
Method 2. Whole Apple Vinegar
If you have a large supply of apples, you can make vinegar with whole apples. This vinegar is more aromatic and has a more intense flavor.
Ingredients: 1 kg of whole apples, 1 tablespoon of sugar or honey, 1.5 l of filtered water.
Preparation: Wash the apples, remove any rotten parts, and cut them into large wedges. Place them in a 3-liter jar. Add sugar and water and stir. Cover with cheesecloth, place in a warm, dark place, and stir daily for the first two weeks. Then strain and let it ferment again.
Method 3. Apple Juice Vinegar
The quickest and cleanest method. Ideal if you have a blender or juicer.
Ingredients: 1 liter of freshly squeezed apple juice, 1 tablespoon of sugar or honey, 100 ml of water.
Preparation: Mix the juice with water and sugar in a glass jar. Cover with cheesecloth and place in a warm, dark place. Stir for the first two weeks. Then, let it ferment a second time without stirring.
Method 4. Vinegar from the pulp after extracting the juice.
If you prepare apple juice in a blender, the pulp is an excellent source of vinegar.
Ingredients: 1 kg apple pulp, 1 tablespoon of sugar or honey, 1 liter of filtered water.
Preparation: Place the pulp in a jar, add sugar and water, and stir. Cover with cheesecloth, keep in a warm place, stir daily for the first two weeks, then strain and perform a second fermentation.
10 secrets to successfully making apple cider vinegar
Use only glass containers. Metal and plastic react with the acid.
The water must be filtered. The chlorine in tap water kills beneficial bacteria.
Temperature is key to success. Ideally, it should be between 20 and 25 degrees Celsius.
Cover it with cheesecloth, not a lid. The bacteria in vinegar need oxygen.
Stir regularly for the first two weeks. Stirring daily distributes the yeast.
Don't be alarmed by its unusual appearance. Foam, sediment, and a film on the surface are normal signs.
Test regularly. Starting in the fourth week, test the vinegar every few days.
Save the mother of vinegar. It's a living culture. Use it to prepare the next batch.
The cuttings should be submerged. If they float, weigh them down.
Add a starter culture to speed up the process. If you have access to unpasteurized vinegar with its mother liquor, add 100 ml to the new batch.