You don't need a piping bag if you have baking paper.
Baking paper, which prevents anything from sticking to the mold, can also be turned into a homemade piping bag for decorating and writing with chocolate.
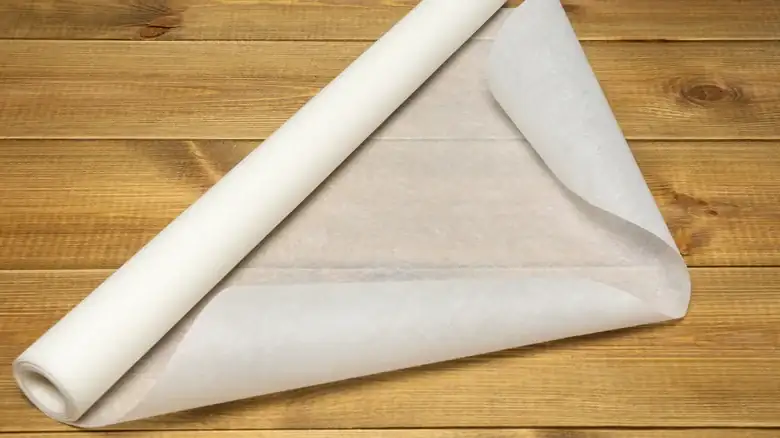
Baking paper is one of the most versatile tools in any kitchen or bakery. It's primarily used to prevent food from sticking to baking sheets or cookie cutters, but it can also be used to roll out pie crusts without them sticking to the countertop, or to wrap select cheeses and keep them fresh instead of using plastic wrap.
Paper is incredibly useful for decorating a cake. Ina Garten, for example, cuts pieces of paper to place under the cake to achieve clean, smooth edges after frosting. It can also be used as a stencil, cutting out shapes and strips to create details, or as a non-stick surface for placing delicate decorations, such as buttercream rosettes.
Many professional pastry chefs use it as an improvised piping bag. All you need is a clean sheet of parchment paper and a sharp knife to quickly make a cone that works like a piping bag with a simple nozzle. This eliminates the need to search for and buy the right size piping bag or nozzle for details like chocolate writing. In fact, almost all the chocolate writing you see in restaurants and bakeries was probably done with a parchment paper piping bag.
Making a piping bag isn't complicated, although it might take a few tries. It's easier to start with a flat sheet of pre-cut paper than with roll paper, which tends to stay flat and is easier to mold. Using roll paper is also possible, though some pieces will likely wrinkle while you practice. Brittnee Kay, a pastry chef and chocolatier, has a tutorial on this method on her YouTube channel.
The first step is to cut an elongated triangle. The easiest way is to place the paper vertically and fold the bottom right corner over, leaving about five centimeters at the top and the same amount overlapping on the left. Crease the fold well and cut with a sharp knife, avoiding a ragged edge that would leave the tube's tip frayed.
With the point of the triangle facing you, take the blunt corner and roll it halfway down, securing it with your fingers. Then, roll the pointed end around the rolled-up section. If the tube is properly made, it will have a pointed tip. To adjust the opening, gently slide the folds between your fingers, or leave it closed and cut it with scissors or a knife. Finally, fold the top over to prevent the paper from unrolling, and you can now insert the filling.
These piping bags are ideal for chocolate because the opening adjusts to the required size and allows you to control the flow of the melted chocolate, unlike piping bags with nozzles. If the chocolate cools down too much, simply heat the bag in the microwave for a few seconds.