Guava Jam Recipe
Learn how to make some homemade guava jam from scratch.
- 2 lb ripe guava (red, pink or white)
- 1½ cups raw cane sugar (or coconut sugar)
- ¼ cup lime juice ((key lime if possible))
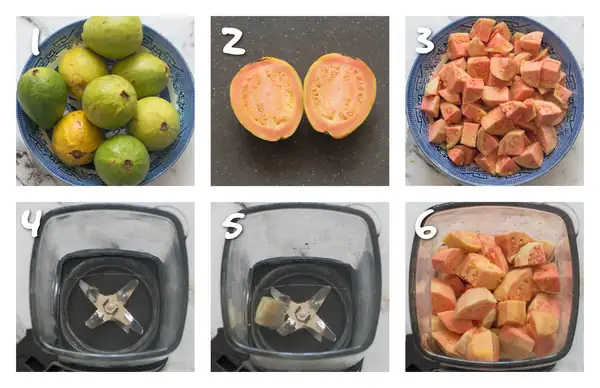
- Thoroughly wash the guava and then set them aside.
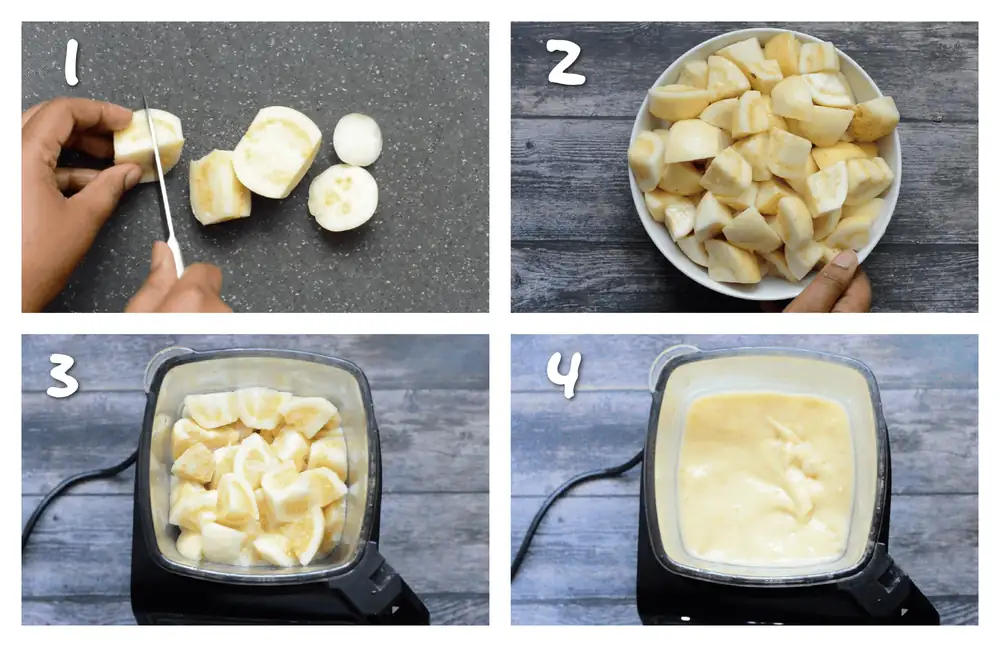
- Chop the guava into quarters or small pieces, slicing off the top and bottom and discarding it.
- Place the guava in a blender (you may need to do this in patches depending on the size/capacity).
- Pulse the guava until it is smooth like a puree (you may need to use a blender plunger to break it down).
- Pass the puree through a mesh sieve or cheesecloth to separate the seeds and then discard them.
- Transfer the puree until a large saucepan.
- On medium heat stir the puree for about one minute.
- Reduce the heat to medium-low and add the sugar and the lime juice.
- Continue to simmer and while stirring for 20-30 minutes.
- After the given time, test the jam with a spoon/spatula, when it is ready, it shouldn't be runny and more on the thicker side and should hold its shape.
- Remove the pan from the stove and allow to completely cool down before transferring the jam into clean, sterilised jars.
- Refrigerate for a few hours or overnight for best results as it will thicken even more with time and use accordingly.
This sweet and delicious jam is the perfect way to use up any leftover guava and give you a taste of the tropics in the comfort of your own home. In true Caribbean style, in my household we love the taste of guava and cherish it because it is not easy to get in my neck of the woods. Thankfully, while out doing some grocery shopping, I stumbled upon some white guava.
Although I'm accustom to its pink counterpart I buy whatever I get depending on what variation is available. I purchased almost two pounds worth of guava because I immediately knew what I planned to do with it.
Guava Juice? Nah, not this time, jelly?
Maybe...Jam? Bring it on!
I had all the ingredients readily available in my pantry so nothing was stopping me from making some guava jam. While it is somewhat time consuming, the end result makes it very much worthwhile.
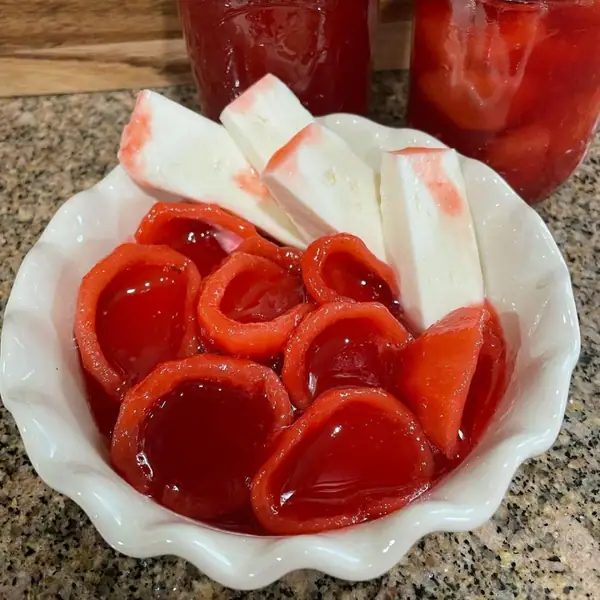
Ways to use guava jam
- Use it as a spread i.e on toast
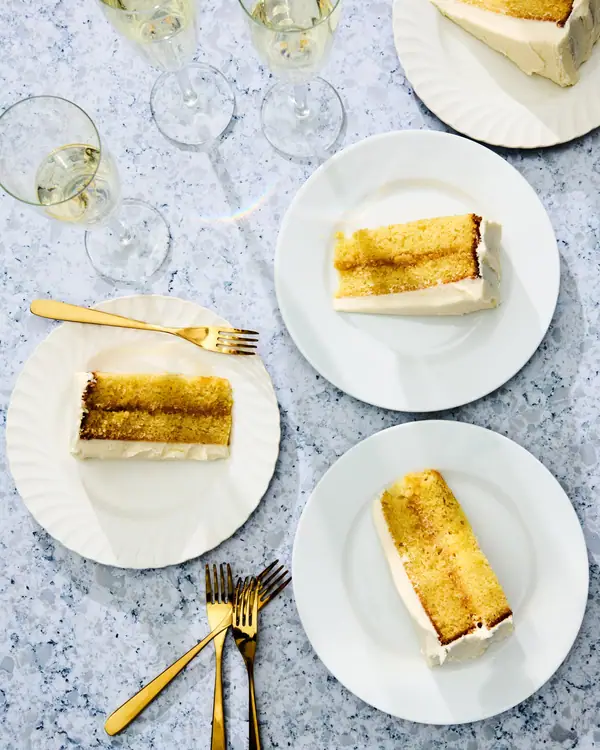
- Baked goods i.e cakes, turnovers/cheesecake
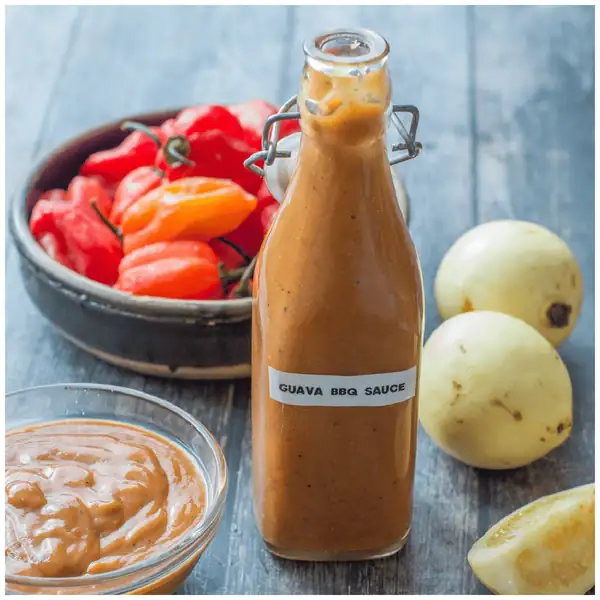
- Chicken wings
- In drinks/beverages
- Pancakes/oatmeal
- Yoghurt
The list is pretty much endless in terms of what you can do with the jam because it is so diverse and bursting with tropical flavour. In my household we like to be aventurous and do all of what is listed above with the guava jam.
Ingredients you need
- Guava - you will need guava that is ripe (pink, red or white), it should be able to give the guava a gentle squeeze and the smell will be almost overpowering.
- Sugar - I always make my jam with granulated sugar, either coconut sugar or raw cane sugar depending on the nautral sweetness of the fruit and what I have to hand at the time.
- Lime Juice - Some people use lemon juice but I like to use lime more specifically key lime because it is more alkaline and helps to firm the jam and balance the flavours.
Reason to make this recipe
- No added pectin is needed
- It is a great way to use up any leftover guava
- It is the perfect introduction to guava jam
- You only need 3 ingredients to make it
- Handy if you can't purchase guava jam near you
Recipe preparation
The first thing that you will need to do is thoroughly wash the guava because I usually keep the skin on so any debris will need to be removed. Then you will need to chop the guava into small pieces, chopped or quartered is fine and I also like to slice off and discard the top and bottom.
The next thing that you will need to do is place the chopped guava in a high speed blender, you may need to do this in batches. You will want to pulse the guava into a smooth consistency.
Strain the puree in a large bowl to separate the seeds from the puree and then discard them. Transfer the puree into a large saucepan along with the sugar and lime juice and simmer while stirring on medium-low heat for up to 30 minutes.
It is very important not to rush this step as the key to yielding the right consistency is to wait until the texture thickens. Use a spoon to determine you have the correct consistency by scooping some out, it shouldn't be runny, more on the thicker side and should hold its shape.
That's when it is time to remove the mixture from the stove, let leave it to cool (it will thicken up some more as it cools down). Then you will need to store the jelly in some sterile jars and refrigerate the jam.
Notes and tips
- This jam, when following my recipe should last for a few weeks. I normally use it within 2-3 weeks of making it and haven't tested it longer than this time frame.
- If you want to preserve the jam for a longer shelflife then I highly recommend following this canning process.
- Don't double dip after tasting the jam or you run the risk of mould growing in the jam.
- You can use any type of guava (pink, red or white) to make this recipe.
- Make sure that your guava is ripe but not spoilt or this will impact the longevity.
- You don't need to peel the skin only slice the top and bottom off the fruit.
- The colour of the jam should be glossy and transculent.
- Keep in mind that my recipe isn't EXTREMELY THICK jam , if you want very thick jam then you will need to add some thickener i.e pectin, agar agar etc..
- The jam should be on the thicker side, use a spoon to scoop some out or pour a small amount onto a cold plate, it should hold its shape and not immediately run off the plate.
- If your jam is runny, return it to the stove and allow it to simmer abit longer (15 minutes at a time), add a tablespoon or two of sugar if needed.
More sauces and condiments to try
- *Please comment below and star rate if you have tried my recipes. Support my website by leaving a donation through Buying Me a Coffee. A site to show your appreciation of my hardwork over the years. Let's be friends and engage on YouTube, Facebook and Instagram I also like to pin on Pinterest, where you can find more amazing recipes.**
Notes
-
- This jam, when following my recipe should last for a few weeks. I normally use it within 2-3 weeks of making it and haven't tested it longer than this time frame.
-
- If you want to preserve the jam for a longer shelflife then I highly recommend following this canning process.
-
- Don't double dip after tasting the jam or you run the risk of mould growing in the jam.
-
- You can use any type of guava (pink, red or white) to make this recipe.
-
- Make sure that your guava is ripe but not spoilt or this will impact the longevity.
-
- You don't need to peel the skin only slice the top and bottom off the fruit.
-
- The colour of the jam should be glossy and transculent.
-
- Keep in mind that my recipe isn't EXTREMELY THICK jam , if you want very thick jam then you will need to add some thickener i.e pectin, agar agar etc..
-
- The jam should be on the thicker side, use a spoon to scoop some out or pour a small amount onto a cold plate, it should hold its shape and not immediately run off the plate.
-
- If your jam is runny, return it to the stove and allow it to simmer abit longer (15 minutes at a time), add a tablespoon or two of sugar if needed.